Monday 30 May 2016

Some New Lanes Explored

Lucy & I planned a day heading up north from Carlisle this last weekend, so we packed up the bikes, dug out the paperwork for the re-survey of the Hierarchy of Trails that Cumbria TRF have undertaken and headed off along the A69.

Once parked up, we got the bikes out and set off into the sunshine and green land that beckoned up north!


SSSI Lime Kiln
The first lanes were beautiful and untouched, this is an area that sees little in the way of traffic and is an unspoilt little paradise. The lanes are quite spread out, so there are lots of lovely little windy tarmac lanes to link them. crisscrossing Hadrian's Wall and heading further north.

Storm damage to the river bank


An altered gateway

The top section,needs a little trim me thinks!


You see the constant cross over of the old Scottish crofters cottages to the more grand 'modern' English style houses, a legacy of the previous Scottish Border locations and of course the Reivers etc.

The farms are all working farms with livestock all over the place and a lot of the lanes pass through the working yards of these farms so these are not the lanes for the folk who like long sweeping lanes that they can fly along at great speed, no these are more for the connoisseur of green lanes, the seeker of hidden gems and lost lanes.

Our journey took us through a few lanes that have become overgrown and are in danger of being lost, they need some TLC, especially some of the river crossings. Land owners, nature and time have left their mark and in some cases, the lanes themselves have seen so little traffic that they have almost gone to the annuls of history!

Serious;y overgrown with downed trees too

Nailed up wire fence where the gate should be

Worn away banks at a ford
Despite the need to turn around on about 5 of the lanes due to the above, every lane we travelled had a charm and the views were constantly beautiful. I have a love for this area for some reason, it started on a visit years ago and has never really gone away. It's bleak in winter and freezing but in summer it's verdant and alive with huge skies, hardly any people and loads of history.


After each lane we made notes against the Hierarchy paperwork, then when we got home we finished them off. There are about a half dozen lanes still to check as one thing there is a lack of in this area is fuel refills, so with Lucy's 250 ever a permanent thirsty little beastie and a bit of a navigation cockup on my part meaning we missed a couple of lanes, we had to cut the trip short a bit.. still, that means a return visit in necessary!!


Friday 27 May 2016

Sherco 290 2002 - Rear Linkage Bearings and Service

The final job on my long list of servicing for the little Sherco at the moment is the rear linkage area of the bike. I can move the swing arm about 1-2cm when I lift it up, so I figure some of the bearings are knackered.

Sherco have a great little service manual PDF which shows you the lubrication points for the whole bike and in this document are the explanation notes for removing the rear shock and where the bearings are etc as well as an image of all the parts.


The steps are:
1. Remove the tail plastics
2. Remove the air box
3. Remove the footpegs
4. Remove the rear wheel
5. Remove the top rear shock bolt
6. Remove the bottom rear shock bolt and lift out the shock
7. Remove the linkage bolts from the dog bones
8. Push out the bushings
9. Tap out the bearings
10. Clean and replace anything worn
11. Re-assemble it all!

Some of the list above is easier said than done though!

I found the bushes and bolts were seized in and had to be tapped out with a big mallet etc, it all took some time and I eventually just removed the swing arm to allow easier access to it all and to get some 'tapping' force onto the bearings. I also loosened off the exhaust but actually you don't need too.


The upside of this was I got to clean and regrease all those parts too and fill the protective plastic cap with grease to keep water out for the future.


As usual I orderd the parts from the Spat Shop as they had a helpful kit ready to go and you just ticked the boxes of what you wanted. £50.00 in bearings and bushes. Whilst I wait for them to be delivered I've stripped everything back to clean metal and lubed it all with some Silkolene Pro RG2 grease


The rear shock bearings needed replacing as well, they are a 'rose joint' and have their own bushes and spacers. There are two per shock, so not a cheap replacement at £35 each!


After all this work I can't wait to get back out on the little blue machine and have some fun!


Thursday 19 May 2016

Sherco 290 2002 - Head Bearing Replacement + Fork Seals Replacement

My poor little Sherco is having everything changed at the momet as it seems to be falling apart!

The head bearings were knackered so I did a bit of shopping around and bought the 'All Balls' bearing kit for this bike. It seems to have a better quality of bearing, something I have learned a bit about in the last two years with KTM's!

The kit comprises of two tapered bearings: (M32004) and the tapered washers for them to sit in, then there is also the rubber washers and a big thick washer. Ignore that thick washer, or you'll have to do what I did and remove a newly fitted bearing to get it off!


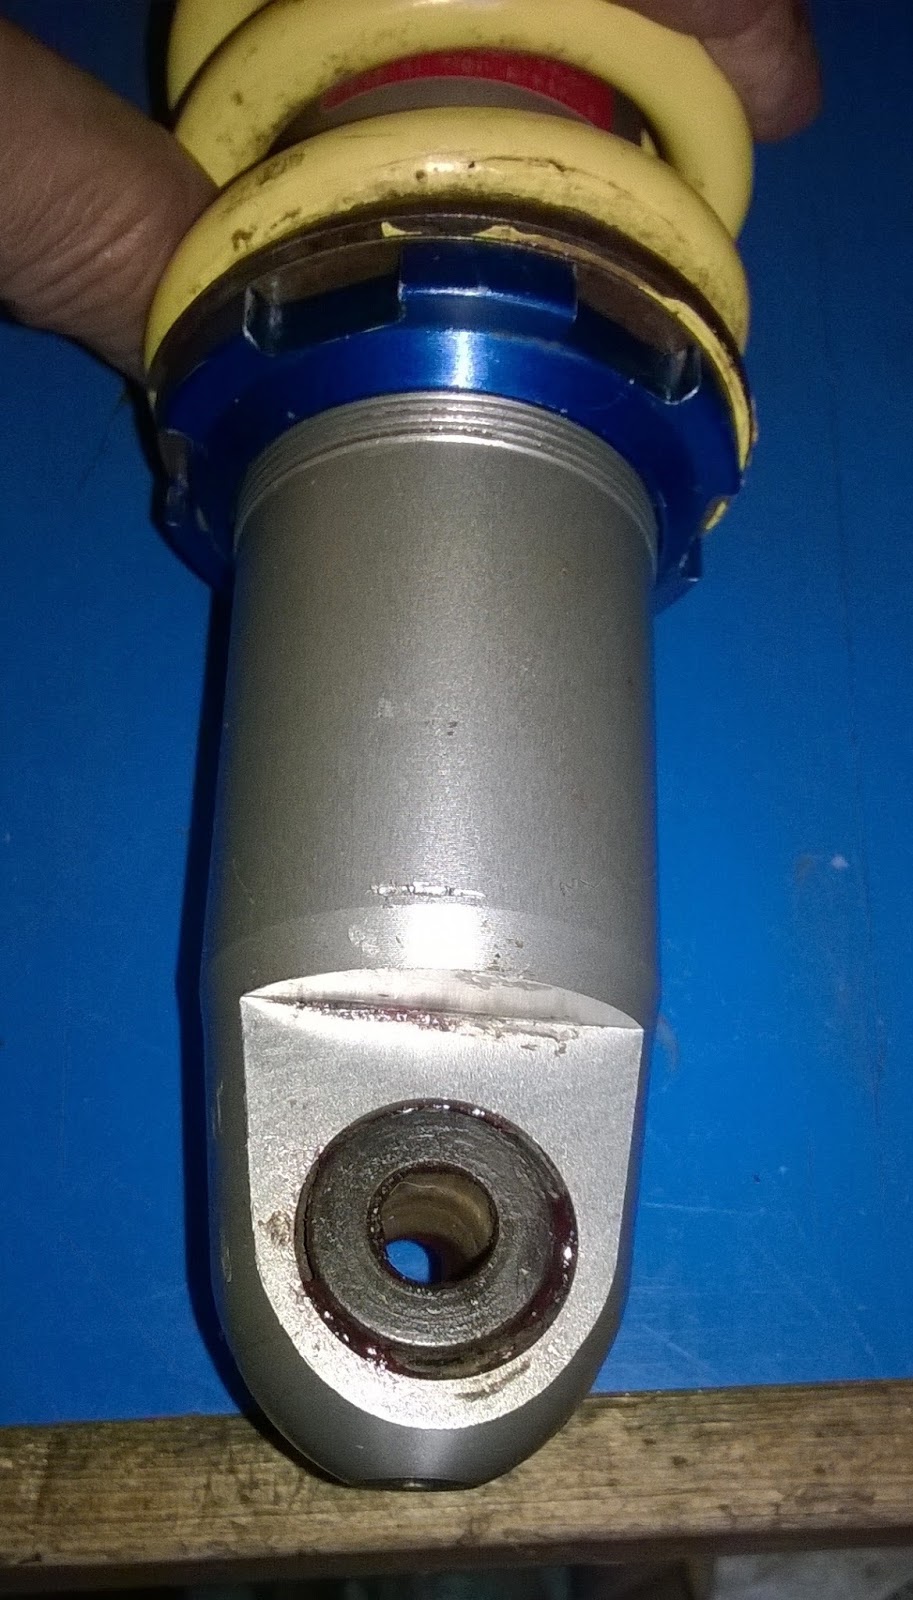
I had the forks out anyway to change the seals and oil on them too, the yoke and triple clamp were ready to be taken out.


I undid the retaining nut then took off the top yoke, a big mallet saw the bottom yoke out and the bearings exposed.

Pretty pitted head bearing rillers

The top one just lifts out, but the bottom one is a compression fit, meaning it's bloody tight as!

After removing the top one I inserted a long bar into the hole of the head stock and tapped out the tapered washers at either end. Then it was time to get onto the bottom bearing.

I prised the outer race of the bearing off with a screwdriver, then tried tapping the compression collar off with a chisel and a hammer, no luck, it was stuck solid, so I cut it off with a dremmel, being careful not to damage the main shaft.


Once this was off, I cleaned everything and applied a light smear of grease, then mounted the new bearing. A quick ratch around Youtube found out a method for me with the tools I had on hand. I slid the large washer on, then the rubber seal and finally the bearing, then inverted the bottom yoke and put it loosely into the vice, a few taps with a mallet and hey presto the bearing was in place.


One thing I did learn was to really coat the bearing in a waterproof grease, seems it's best if you pop a blob on the palm of your hand, then force it into the bearing all the way round, then fit it.

This all done, I started to rebuild it all after I had seated the replacement tapered washers into the head stock along with a load of grease. (NB: Remember to tap the bottom bearing cup up into the head, it doesn't sit flush with the bottom but is slightly recessed into the head tube).


Here's where I found out that the All Balls fat washer was crap, I ended up having to cut the bottom bearing back off and replace it as the yoke shaft was now too small to get the headstock nut onto it!

Hey ho..

Back to the rebuild... I refitted the forks, these also a bit more shiny on the inside and outside after their service.

When fitting the yokes back to the head stock, there is a sequence, as with all bikes... see the pic below, the locking nut then plastic dust cover,then the top yoke all held down by the small nut, which should sit flush to the top of the shaft.


Torque Settings can be found in the Sherco PDF's Manuals HERE

Fork Service consisted of a strip down of the forks from the top down. Once you've got the forks out of the yokes, it's then time to strip them down.


1. Remove the blue air seal plastic cap on the top of the fork leg
2. Remove the 22mm Allen head cap from the forks, (there is an O ring under this)
3. Remove the tiny drainage allen bolt from the bottom of the fork, then the 8mm sunken allen bolt and drain the oil.
4. Gently prise off the dust seal on the fork leg and remove the sping clip under this.
5. Drop out the fork internals - be careful here, don't drop, damage or lose any bits and note their position.
6. Pump the top stanchion very hard a few times to lift the fork seal from it's bed. (This can be a pig to do on old stuck seals)
7. Clean everything and drain last of oil.
8. Clean it all again!
9. Replace it all back together once you've checked for damaged or worn parts. You'll need a good tool to get the seal to sit flush and tapped into place, (a long piece of plumbers pipe will do it I found!).
10. Refill with 270ml or 330ml of 5w fork oil. (Use the higher figure if you have stripped it all down)
11. Refit the threaded 22mm cap loosely into the top of the fork leg.
12. Re-mount the fork leg into the yokes and tighten gently.
13. Tighten the cap properly and put the blue air cap back in
14. Do the other fork leg now.
15. Once they are all back in place, use a torque wrench to get the bolts to the right tension.

Dust Seal and the Fork Seal

Done! Time to remount the wheels and go play in the mud and rocks again!


Sherco 290 2002 - Kick Start Spring Replacement

The kick start on my bike wouldn't come back up sometime in April, but due to an overloaded work calender and too many other things getting in the way, I've only just gotten around to sorting this.

At the Splat Shop I found a great little post explaining the process, and of course they have all the parts too! Explanation found HERE

So after reading through it, I ordered the parts I thought necessary and got on with the strip down with the intent to clean and replace anything I found as I went.

I won't repeat what's already on the Splat Shop detailed info page for this, just let you know what I found and add a parts list for my bike at the end.

I drained the oil and coolant easy enough, then set about the removing the other parts from the engine.
(Have a look at my previous service page for info on this).


The rear brake lever is such a great little design, very easy to remove with a single 13mm nut behind the frame, (there is a roller bearing in the brake arm which got cleaned and regreased during this job as it wasn't moving!).

The kick start lever is a 5mm allen key, then just slides of, this has also had a strip down and the little ball bearing inside cleaned and regreased.

Next up was the outer casing for the clutch which in hindsight you don't have to remove really, the big O ring has stretched so that'll need replacing now too.


I also took off the water pump cover, so it could be cleaned and checked. Where the rubber hose attaches there was corrosion which I've now cleaned off and checked the O ring and seal inside. The impeller looked fine as did the nylon cog behind this, so all good and cleaned now.

After removing the main part of the engine casing I cleaned off the gasket bits that had stuck and torn as it all came away, this is a bit of a delicate job as I have in the past scratched the metal where the seal sits and then had a slow and tiny leak.

I now use GT85 or some such thing and a finger nail for the majority of cleaning this, at a push I will resort to a very blunt old screwdriver to ease away a really stuck bits of the paper gasket, but be very careful if you do this!


The clutch was up next and in hindsight again, I could have changed the clutch basket as I have no idea how old it is, it's looking worn but serviceable so eager to ride the bike again I've put off changing it for now.


When I finally got to the kick start spring, it had snapped and a piece was lying in the bottom of the engine casing, plus another piece was still in the retaining hole, so I cleaned it all out and checked it against the new one to be sure I'd got it all. I also found tiny metal bits on the cog at the back of the kick start so again a complete clean was needed.


Once the kick start spring was all rebuilt, including a new dust seal around the spline and all freshly oiled I popped it back into place and cranked the kick start to wind up the spring, it's a good thing to watch so you get the idea behind the process for when you try to kick start the bike next time!

Once I was happy this was working fine I reassembled everything in reverse, cleaning and freshly oiling everyhting as I went.


The paper gasket went back onto the engine casing and the bolts were all tightened up so now I just need the large O ring for the clutch casing and we're done.

The kick start now returns fine and I'm happy that all this part of the bike is clean and regreased/oiled again. Now it's replace the coolant, engine oil and the large O ring, then get the bike started for the first time in 2 months!!


Whilst I'm waiting for the bits needed I have to do the head bearings and fork seals so they are up next...

Parts bought for this job
1 x Kick Start Spring
2 x washers, (which I had to file as they hadn't been polished on the inside bit).
1 x kick start dust seal
1x 1 litre Engine Oil
1 x paper clutch cover gasket
1 x large O ring - clutch casing

Costs: £20.38 for metal parts and gasket, I already had the oils etc

On the whole not a bad job to do, and you get to see the clutch etc. Once I've done the head bearings and now the swing arm bearings this bike will be very shiny on the inside!!


Sunday 15 May 2016

Bike Safe Training In Cumbria

Lucy and I got booked onto the Bike Safe scheme run by Cumbria Police, so at 07.15am this morning we got on our bikes and rode down through the Lakes on the newly re opened A591 to Kendal.

It was a truly beautiful Lakeland day, with all the Lakes looking like a mirror and despite the cool northerly flow of air coming through the day promised the be a beaut!


For the first 3 years I rode bikes, I was lucky enough to have a good friend who was an ex Grade 1 Police motorcyclist and a RoSPA Gold Instructor, so from an early stage in my riding career I had free instruction about a lot of the key things, like road position, right gear, right speed, observations etc etc. It's stuck with me for all these years and despite having 3 really epic crashes in the nearly 20 years of riding, I still feel the benefit of it. Thus I was all in favour of Lucy starting to get into this kind of personal development early on in her riding career.

There was an eclectic mix of people and bikes turned up, from a lass who had just past her test 6 months ago to time served bikers and all in between.


The morning was spent in a classroom watching clips of various bike scenes, all about positioning, braking and the definite no no's for riding in both urban and rural environments. A lot of the clips showed the how not to, then the how to side of things just to get the message across.

It was a shame to be inside but  it was a well put together, though slightly dated, training session and the two police officers ran it well with a mix of humour and seriousness coupled with some honest answers about riding and an understanding of the kind of people who ride as well as a recognition that like all groups of people, there were prejudices in the police about bikes/bikers etc. refreshingly honest in this country!!


After lunch it was a split in the group, half went out on observed rides with both the police guys and some volunteer Institute of Advanced Motorist observers, the other group stayed in and did some bike specific first aid refresher stuff including and discussion about removal of helmets or not!

This was a good session run by one of the volunteer fire fighter team, Jay, a good lad with a good sense of humour!

When it was time for us to go out, we went with Lee, a very experienced police rider... I went first around the loop, out of Kendal to Shap, down to Orton and back to Kendal. I knew most of these roads so had an unfair advantage over Lucy is some ways. My feedback at the end of the ride was pretty good with Lee noticing both my lazy follow the car road position and the fact that I don't go right to the left edge of the lane as I approach a right hander! Bad old habits in both cases.

Lucy was nervous but Lee had her ride first then went in front and showed her his road position, which was radically different to a 'normal' rider as you would expect. On the whole two runs I think he touched his brakes 4 times! Good skills and superb riding.

Lucy's feedback was positive too, she had good road position in general but needed to brush up on her braking points, awareness and getting into position for bends earlier.

We rode back up through the Lakes after the session had finished and you could tell she was more confident, her speed had increased slightly and she just rode with more 'presence'.


Another beautiful day out on two wheels!!


Friday 13 May 2016

Sunny Weekend in May, Roads and Trails

Lucy & I had our first weekend free for a long time this last weekend, so we decided to make it a biking one!!

Saturday saw us meeting up at Penruddock near Penrith with friends on a mix of bikes... 3 triumphs, a Suzuki and Lucy's BMW.We made a vague plan and headed off for fuel, cash etc and then set off to enjoy the sunshine and dry tarmac.

Brough Cafe, nice food!
First place we hit was Pooley Bridge to ride over the replacement army bridge, then round to Bampton with its lovely views of Haweswater, High Street and the eastern fells off to our right.

This took us onto the fast A6, where Nigel disappeared into the distance on his 675 which he usually rides on track days!
Kendal was its usual glut of traffic which we quickly bypassed heading to Kirby Lonsdale and Devils Bridge for a cuppa...
Some of the lovely Dales roads followed upto Sedbergh then Kirkby Stephen, where Jo & Richard left us to do chores. The 3 of us left took the Brough road to the bottom of Middleton in Teesdale, then up the valley past High Force and into Alston.


We finished the day on the road to Carlisle and a stop at Lloyd Honda, where we saw a beautiful old Ducati. I bought some new Alpinestars gloves for trail riding then back home for beer and Moto GP practice on Nigel's TV!
Sunday was planned to be a laning day doing a run over towards Hexham in Northumberland.
When we got up Lucy didn't feel to well so bailed which left me and 3 of the Cumbria TRF lads heading out. Nigel, Simon and Ernesto... A good mix of bikes with 2 KTM 500's, the CRF 250 of Nigel's and my 400.


Homemade with tie wraps and a sling!

We met up near Melmerby, took in a couple of lanes in the valley and then began the climb to Hartside. Simon's bike died on a hill climb and needed some TLC on the battery but ran fine thereafter, some kind of loose connection on the battery we think...None of the guys had ridden this route before although Ernesto had ridden a few of the lanes on the Northumbria TRF Hadrians Wall Adventure weekend last year.


I'd guess that all of them were a little riding unfit too as rocky lane after rocky lane was covered, some sweat was lost in the beautiful sunshine and a couple of falls were taken by Simon and myself...


There has been lots of changes to several lanes this month with water levels really low, Tynehead has had a big tractor re cut the ruts on the ascent from the house, which is a good thing as hopefully more people will use them rather than spreading across the moor, (something that is causing a headache for the farmer on his quad, he & his wife have rolled their quad in the ruts apparently).


Limestone Brae has been completely remodeled with all the good tricky rocky bits gone and a super easy in/out now.

Slaley Forest has begun to dryout and so Blanchland Common, both really good areas to ride around... has all good stuff.. There were loads of bike teams on the round today too, always good to see others having fun on the trails!
So I'm suitably knackered after two long weekends of biking, the 400 is in desperate need of an overhaul and new tyres, so hopefully this week or maybe next for that.
Great weekend rounded off with beer and roast chicken for dinner...
Happy days on two wheels!