Friday 24 August 2018

Three days around Rhayader in Mid Wales

After seeing how busy Devon was, I was craving some open space and the mountains, so drove upto Rhayader on Thursday night.

Gareth agreed to come out for the weekend, so I was tasked with planning the routes, I started with a day for myself whilst I waiting for Gareth to arrive Friday evening. My chosen route went north of Rhayader this time, with lots of lanes I hadn't visited before and even found a stretch alongside Offa's Dyke, which turned out to be a lovely part and I got to chat to a group who were all following the trail up through the English/Welsh border. A really happy bunch of people which is always nice...


Unfortunately for trail riders lots of this path has been closed off to motor vehicles, (something that is not uncommon in our current society!), so to find a bit that is both open to us and also pretty was well worth the journey!

Some of the trails I found were little used, some completely overgrown, I managed to always find a way through, albeit sometimes a little scratchy and frustrating, but it was good fun never the less and I think it is important to use some of these trails otherwise we will lose them.


The day was really relaxing with no drama's, I never saw a soul away from the Offa's Dyke area and it felt like I had the whole place to myself!

I got back to the van, my rear tyre was just about bald, so it was a good job Gareth was bringing his tyre changer and I had a nice new shiny one in the van! I camped again that night in a lovely place, with the wind blowing the van around and the odd squall coming through to make the night interesting. Drinking some nice red wine, reading a book and all tucked up warm, a great way to spend an evening!


Gareth & I met at the cafe at Crossgates, caught up on gossip over a big breakfast and then set off for a ride heading north east this time. Another day of mixed trails, some long and flowing, others short and a bit overgrown.


We seemed to spend a lot of the day helping various horse riding groups, (who were on a planned multi day ride), however their navigation wasn't the best so we had to set them back onto their tracks again each time we found, this is where a GPS does come into it's own.

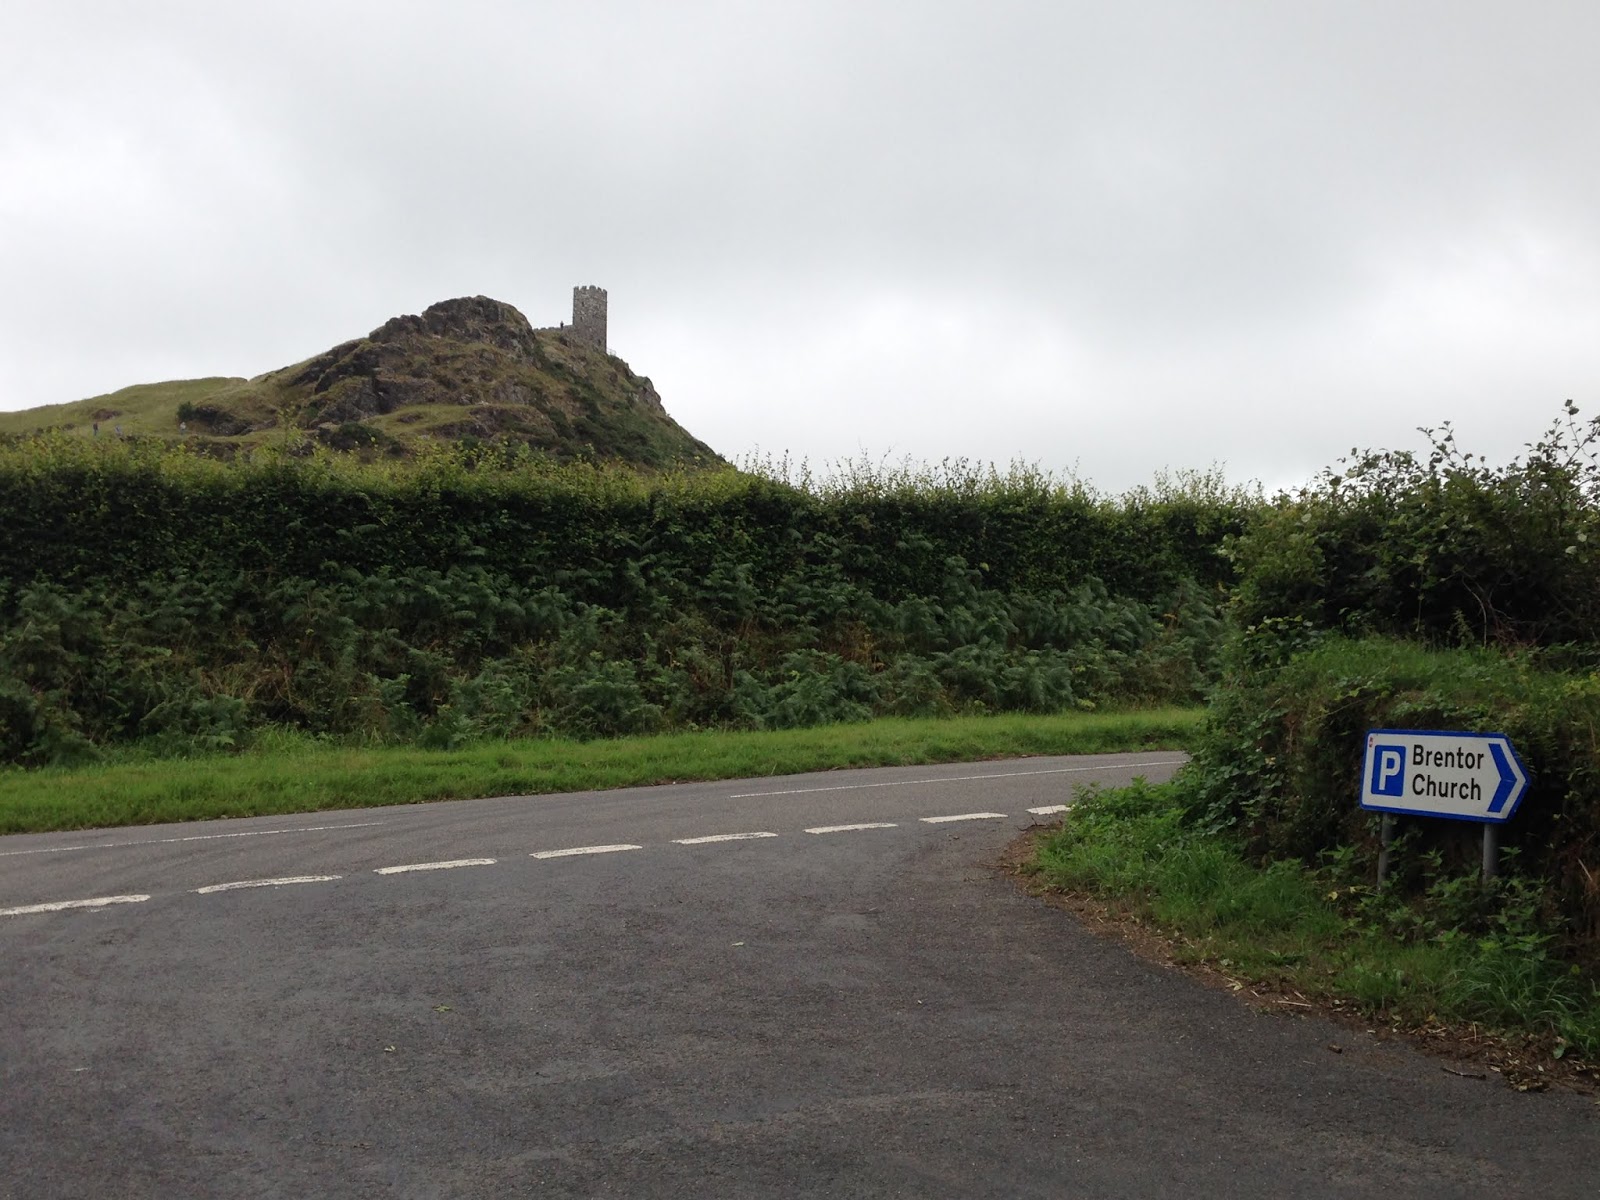
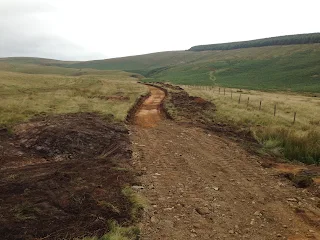
We also found a lane that is having lots of repairs to it at the moment, at one end their is clear signage but at the end we started from there was none, no wonder the workmen didn't look too happy when we turned up! Lots of new fencing going in, some graded trail and lots of new drainage. This is something that needs to be done on many trails of the UK, maybe one day the government will wake up and change it's rather dogmatic policy and develop an 'inclusive' method of trail management instead of the current exclusive version they have. We can dream I suppose!


The day finished up at a pub in Rhayader, plans were made for the final day which included the long lane at Sennybridge, there was a no live firing day, so that was the plan for the next day with a couple of big river crossings to clean the bikes before heading home.


The day started with a lesson on using a Rabaconda tyre changer, ten minutes later I had a shiny new tyre, oooh want one!!


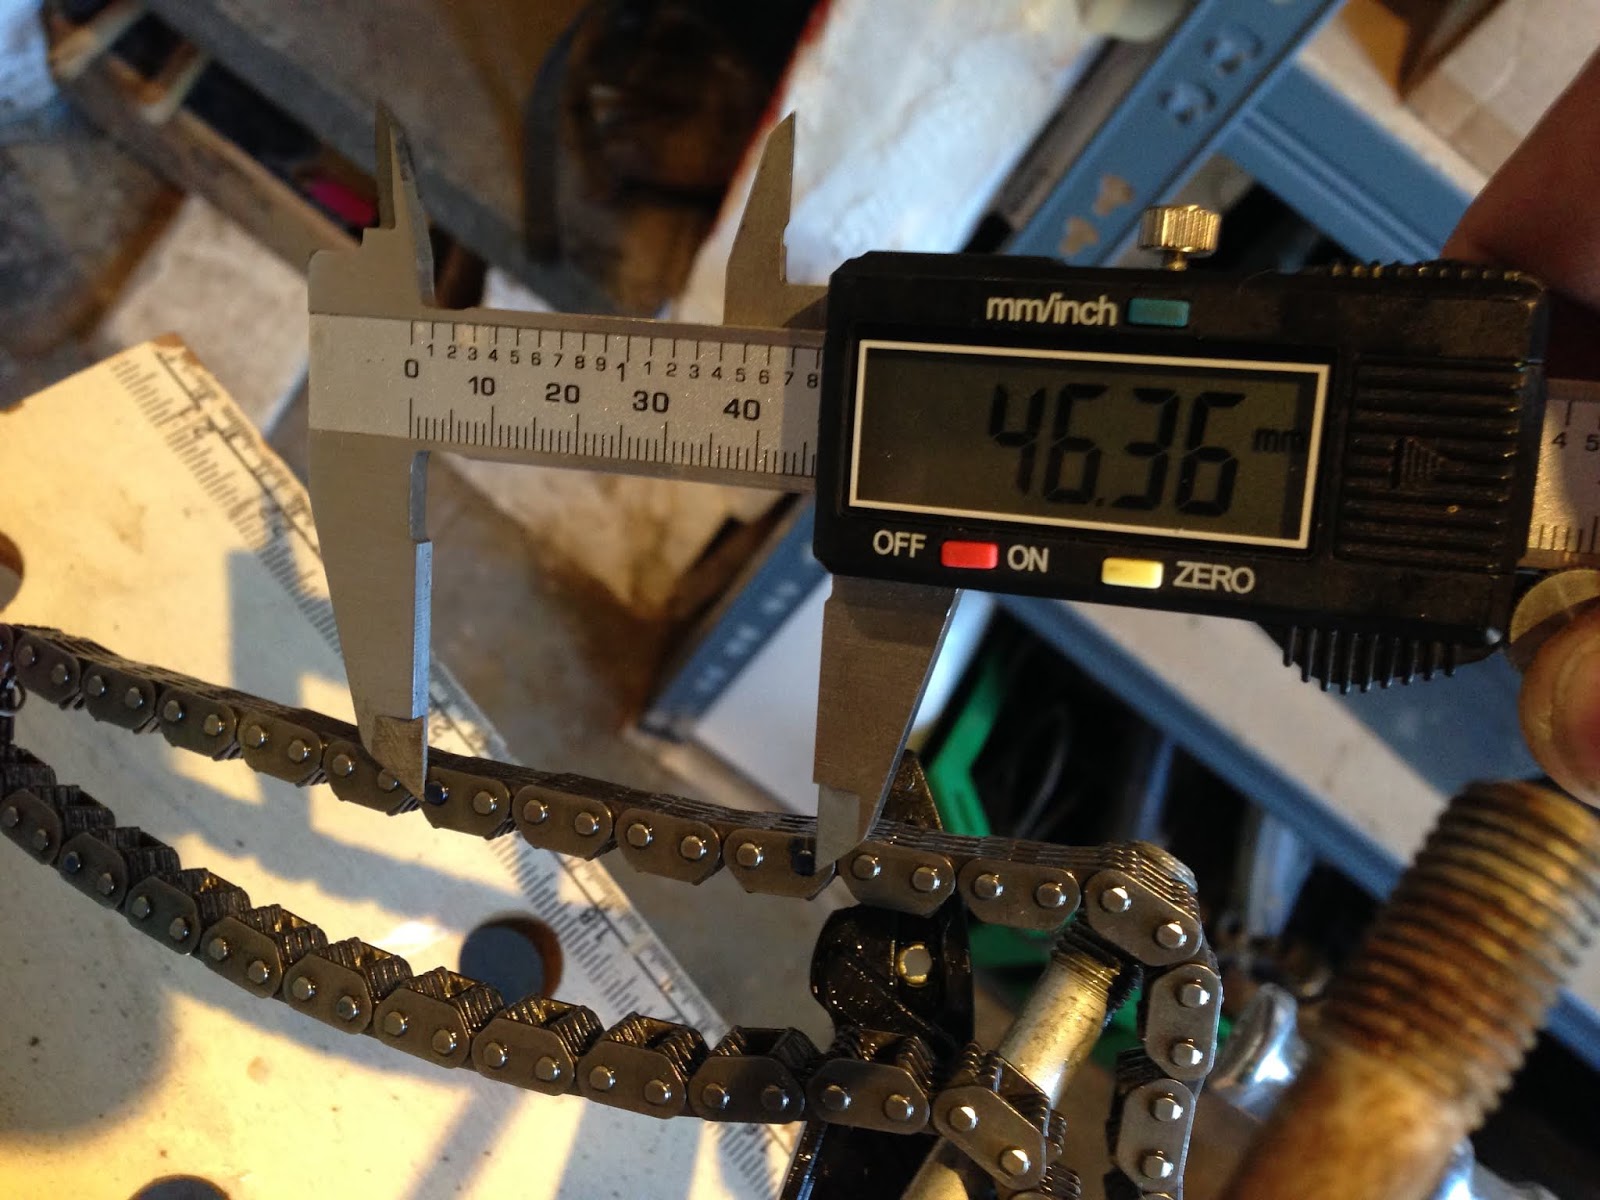
Just after lunch in Llanwrtyd Wells, my front sprocket bolt came out and disappeared, luckily we were still near town, so I went into a garage and found a spare washer and Gareth had a spare bolt, so we fitted this, but it had gone again by the end of the day! A visit to KTM needed...


Bike wash time came as the final lane of the day, the rain had soaked us most of the morning, but the afternoon had dried up nicely, the moorland throughout the day was sometimes a bit tricky and a bit boggy, Sennybridge was a little freaky, with all the bits of target stuff lying around and the potential threat of unexploded ordnance lying around, (we never saw any but you just never know!), so it was good to chill out and have a giggle in a plain old bit of river crossing, even if it was partially blocked by a tree and with some deep water!


Here ended the trip, time to go home, go back to boring and normal life and dream about the next big bike adventure!

Monday 20 August 2018

Cornwall for a couple of days...

Having plenty of time as holiday plans had changed at the last minute, I decided to go to some of the areas I haven’t ridden in before. I spent awhile looking at the UK map, then decided on Cornwall followed by Devon before heading up into Wales and then back home. So with a high expectation and a good weather forecast I drove down to Cornwall via a family visit and a ride around Monmouth.

Cornwall is a place I nearly lived a few years ago, I’ve climbed a lot around there on the beautiful granite sea cliffs and have a soft spot for the county, it’s just a nice gentle place, relaxed and friendly in that way only a place can be when to pressures of money and status haven’t yet taken full hold on the local mentality. 


I found a place overlooking the sea on a high clifftop just north of Redruth and parked up, fettled my kit and slept. The next day dawned with heavy sea fret and low cloud, so I hibernated with a book and drank lots of coffee. The afternoon brightened into a warm day and I managed to get all my kit dry from a soggy Monmouth day. Red wine and a glorious red sunset rounded off a really lazy day.

I had planned a route that took in lots of the byways around Redruth, all clearly marked on the OS map. I’d contacted the local Cornish TRF group with a question if anybody was out but got no response, so planned to ride alone. I set off at 7am and was soon lost in sunken lanes, covered in arched trees where a sense of time and place disappear. The trails blended into one long trail as the surfaced roads were often similar. Some of the trails clearly hadn’t been used in awhile, overgrown with hawthorn and blackberry bushes, others were fast and flowing, none were ever difficult, even though the schist and what looked like sandstone was often greasy and slippy. I dropped the bike a couple of times, catching ruts in the long grass, the back wheel sliding out on slippy rock. Whilst waiting for the King Harry Ferry to cross the I got chatting to a lady and her niece, who came from Cumbria and it turned out I knew her brother! Such a small world... The day finished with the best lane which took me along a clifftop route, down into a little cove and back up the other side. Great views of the beaches and the folk playing in the sea. 


Once all packed up and fed, I decided to move on to the Liskeard area which was the plan for the next day. Liskeard was a much busier area, there was very little choice for parking a van up, so I ended up in a layby on the Looe road, noisy for the whole night but hey it was on my planned route. The area seems to have more UCR’s than byways, so it was a matter of stringing them together into a circular route, which in this case turned out to be 130 miles long. As it was such a length I set off early again, and was soon off into what turned out to be very similar types of lanes. The bed rock for the area is very different, with some schist again, but also plenty of limestone, some red granite and a few of the ‘sandstone’ type. The main reason for mentioning this is that each one has a different riding style needed, the schist and sandstone both need gentle throttle to get going on the steeper hills, something I’m not good at, the others can suffer a little heavier handedness. 

I passed through some beautiful areas, where all kinds of industry has gone on in the past, some of the mines are now reopening, the old mills have gone though and all that remains is the buildings and the mill races, some of which have been repaired and now house holiday homes etc. 


My route passed from the coast to the moorland and as such the variety of places changed all the time. I got talking to a nice fella who pointed out I was looking at the wrong entrance to a lane, as we chatted he tole me his place had the source of the river on it and that he thought a lot of the lanes started life as ways for the farmers to move pony & trailers back to the farms, I suspect this may be the case with some but not all.

For a short time I crossed over into Devon, the lanes were very similar, I met a lovely couple walking their little spaniel down one narrow lane, they lived locally and were very chatty, quite happy to see someone using the lane. We had a ten minute chat about loads of things and parted company. 


I got back to the van at 5ish, the bike was now missing the bolt and spring for the side stand which had disappeared somewhere and one of my handguards had fallen off, probably on the lane near Tavistock, which had a very rocky technical ascent which I took in a complacent manner and lost traction, spun the bike and almost headed off own the hillside! Hey ho, a beautiful lane it was too, climbing through some woodland above Tavistock to open out onto a panoramic vista. Another good days riding, lots of trails and plenty of great scenery. 


Once back at the van I decided to head over to my next port of call, near Torquay in Devon. I’d spotted loads of lanes in a smallish area, so thought I’d go check them out. The night was extremely wet though, so I spent the morning picking up parts for the bike from the Saltash KTM dealership, JD Racing, really friendly and nice people. I serviced the bike in the van, then wrote up the blog before heading out for a few lanes in the afternoon. 


One thing I noticed around the lanes I drove on though, parking is a nightmare, there seem to be very few layby’s, lots of narrow roads with people racing around all the time. The folk I’ve encountered seem to be aggressive, slightly negative and a bit grumpy. Not sure what the reason is or why the change when 20 miles away people are a lot more pleasant, there must be something in the water...


My trip finished here in the south as I decided I was pining for the mountains now and a bit of solitude, so I packed up the van and drove to Rhayader, had a curry and found a beautiful place to park up next to a river for the night where I planned the next days adventures!

Monmouth, a return visit...

An eventful day out it turned out to be too...

En route to Cornwall and Devon for a few days after a trip to ride the TET in Greece all fell through, I stopped off in Monmouth to meet a mate and go for a ride. The weather was mixed with sunshine in the morning and rain later which always adds spice to the day in this area! We caught up on the gossip side of things over breakfast at the Riverside Hotel on the edge of Monmouth, then unloaded the bikes and set off for a play in the local countryside.


Gareth had the route planned and so I followed, as always when Gareth plans a route, lots of good technical lanes followed with a fair few steep ascents and rock steps that I remembered from my last visit, there are also plenty of sunken lanes lost in the bushes and a little overgrown.


We stopped in a great little cafe near Tintern Abbey, loads of cyclists use the place, the cakes and tea were good but a little pricey, once I had the picture of the Abbey and what looked like a wedding filled with classic cars and other vehicles, we then set off on a rocky little hill climb through some woodland. Great lane, lovely area...

The day finished with Gareth trapping his bike under a bit of armco fencing on a farm exit lane, the concrete surface was covered in some very slimy slurry and his bike just tucked and slid under the fencing. We had to go find the farmer and lend some tools to unbolt the fence before we could free the bike!


That night ended up in a local pub, eating and drinking until late, leaving us both merry and inebriated before dossing in our vans after a long day!


Another great day out on a bike in a lovely part of the world!

Sunday 8 July 2018

KTM 350 EXC-F 2012: Replacing the Piston and Valves

Aaah vehicles, the joy they bring when they're working and the test they become when they aren't!!

Whilst enjoying a second attempt at the Ulverston to Holy Island Coast to Coast route this weekend, my bike decided to have a hissy fit and die in the middle of nowhere! It appears I'm not meant to finish this route...


I'd had a bit of a warning as the cam chain went rattly part way through the morning, but as the riding was pretty good and the many river crossings were going pretty well, I was being lazy and just hoping it was fine until we stopped that evening and I would look at it then, however the engine had other ideas it appears!


So with the much appreciated help of three friends, the bike returned to the van and back to my house. I commiserated with Lucy and a bottle of red wine, before sleeping and dreaming of the many possibilities of both damage and expense I would be facing!


Sunday morning dawned, I stripped the bike and lifted the engine out, so below is how I did it. It is much easier than on earlier bikes although I think the injection system is something to really take care of on re-assembly.

Setting up;
1. Strip the bike of fuel tank and plastics, including the frame protector plastics
2. Disconnect the battery
3. Take out the air filter, block up the inlet
4. Jet wash the bike thoroughly including the electric cables above the engine and in all the little places dirt hides
5. Wipe clean the top of the engine and remove any last bits of dirt from the cables.
6. Let it dry
7. Drain the coolant
8. Drain the oil


Removing the Engine;
1. Pop the bike on a stand with the back wheel hanging free
2. Remove the coolant hoses from the engine
3. Loosen the injection system clips and break the seal of the hoses
4. Unplug the stator lead at the two connectors, one black, one blue.
5. Remove the air box hose from the top of the cam cover casing
6. Remove the spark plug cap
7. Remove the bottom rear shock bolt
8. Remove the rear brake spring
9. Remove the cable attached to the starter
10. If you have a chain guard, remove this
11. Loosen the chain and remove the front sprocket
12. Loosen and lift out the clutch slave cylinder, (lay it over the frame)
13. Remove the swing arm bolt and ease the swing arm away from the engine.
14. Remove the retaining springs from the front of the exhaust & the silencer
15. Remove the silencer and the front header pipe from the bike
16. Unclip the sensor on the left side of the engine
17. Loosen the engine mounting bolts at the top of the engine (3 x 13mm nut & bolts)
18. Remove the two engine mounting bolts (2 x 13mm with captured nuts)
19. Ease the engine out to the left and pop it on a stand


Now the fun begins!

Breaking the engine apart is easy, these KTM bikes are designed to be field maintained whilst racing etc for the most part. There are a few jobs on them that requires specialist tools but for the most part you can just find what's broken, pull it out and replace it. Simples!!

What I needed to do required the following;
1. Undo the 3 x 10mm bolts holding the black engine cover on
2. Lift the cover away with the seal and lay it carefully to one side.
3. Inspect the cams and cam chain.

Removed cylinder head
The cam chain wasn't sat right on the cam cogs, the cams themselves wouldn't move at all, so the valves looked like they weren't happy. To get to these, you have to remove the next layer of engine casing. (Make sure you write down which cam comes from where and what size shim is in there!).

This requires the following;
1. Loosen off the 8 x 10mm bolts holding the camshaft bridge.
2. Lift the bridge off gently, easing the oil cartridge out carefully.
3. Lift out the cams and place them carefully to one side. (I checked them for scoring or wear marks)
4. Locate and release the 2 x 13mm nuts inside the engine casing
5. Loosen the two external 13mm bolts released. (These are tight, so use a long bar and a good fitting socket),
6. Then there is an 8mm nut on the other side of the engine
7. Using a mallet, gently tap around the engine casing until you can see the casing lift slightly, then ease it off the engine.

As this bike has done 400+ hours, I thought I might as well look at the piston as well, it's fine to be honest, it is coming up due for a replacement so whilst I'm doing this job anyway, it'll get replaced and I'll send the barrel to Langcourts again for a replacement Nicosil coating and honing. In the old manuals, they told you the size of the piston and the bore on the cylinder, in the current one, however there are no sizes, so I'll have to do a bit of research to find out.

Plenty of burnt fuel on here!

Not too much wear for 400+ hours

This has all the KTM 350 2012 specs.

To remove the valves however is one of those jobs that needs a special set of tools, namely a valve compressor plus a set of valve grinders and some grinding paste. I don't have these, so will go see a friend who does and deal with them from there. once I find out what needs replacing I'll order the parts but one thing I have learnt from experience is to replace all of the seals and the gaskets anyway. Don't skimp on this, it will come back to bite you.

The workshop manual for this bike is HERE
The KTM manuals page is HERE

05/08/2018 - All the parts have arrived!

Parts from Eurotek in Ripon
Now I have lots of expensive shiny things, I started to rebuild the engine. I also bought a valve removal tool and a chain splitter small enough to break the cam chain as they come as a sealed circle. You need something that goes to 2mm diameter for this and I only found one choice here in the UK. Remember to coat everything in fresh engine oil as you rebuild or buy the specific sticky oil which doesn't drain off as you're rebuilding things.

Ebay to the rescue again!

Changing the Cam Chain
Cam chains these days are pretty reliable, but they do wear, and Geoff, a mate of mine who helped me rebuild my old 400 (who is also a bloody good race mechanic). They wear the same as the main drive chain, ie the rollers and plates wear away, which creates bigger gaps and makes the chain sloppy. A good way to check this is to measure the chain from pin to pin and look up the tolerance for your bike, or just change it anyway as it's good practice!

The length of 8 pins on the old chain
Pop a rag into the engine block to stop debris dropping into the engine, then using the 2.2mm pin drive on the chain tool, you push out the pin on the old cam chain, do not remove it all the way. Split the new chain in the same way and attach one end to the old chain, then pull it through the bottom end, split the old chain from the new and re-install the pin to close up the new chain. Job done.

Installing the Piston.
Inserting the new piston into the newly coated middle section of the engine block is not easy. Pop the gasket on first, the if you have the KTM tool, it must be easier, but I didn't, so I first attached the piston and tried to lower the casing onto it, but it catches on the piston rings, so I too it back off and inserted the piston (on the workbench) partway just to hold the rings in place. Be very careful not to damage the bottom oil ring as it is made up of two parts, a long spring and the outer race, they are joined but very fragile, if you bend or damage it you have to get a new one and try again. One I had the piston mounted, I then popped it onto the crankshaft. This is a delicate job, so have some patience and get the locking ring on the gudgeon pin in place, I needing a flat bladed screw driver and lots of patience. (Remember to pop a rag into the engine hole below where you're working or when you drop the ring it'll be a much longer job!! ).

Old (after some cleaning) and the new piston 

New piston and barrel in place
So the stages are;
1. Pop gasket in place
2. Oil the cylinder face and piston parts
3. Insert gudgeon pin partway into piston
4. Insert piston into cylinder just to hold piston rings in place.
5. Put piston on to crankshaft with the casing attached, ease the cam chain and cam chain guides through the new casing to get this into place.
6. Drop into place making sure it all fits neatly.
7. Pump the piston to make sure it moves nicely.

Building the Head
I spent a fair bit of time on rebuilding the cylinder head, mainly so I could learn about it and also as it is expensive if you get it wrong!! A full valve kit is around £350, so for us mere mortals in the money world, you only ever replace what you need to. In my case I checked all the valves and could only find one that osculated very slightly, so I took all four valves to WM Moto in Carlisle for a second opinion. They agreed and so I ordered the replacement intake valve from them and the cam chain adjuster, which is what had started all this rebuild!

Installing the Valves
Once the rest of the parts arrived I rebuilt the cylinder head, installing the valves into their guides and really taking my time. Each valve goes into place, then I used the valve tool and paste to lap them into place and make sure the fit is tight with no burrs or visible holes. (Here is a YouTube film of a car engine being done). I could have saved myself this job if I'd recorded which valve came from where, but as I had to do it for the new valve, I did it for all of them to be sure. Check the servicing manual for the exact specs on all the parts to this.

 Once happy with that part, I turned the head over and mounted it into a vice, installed the valve springs and the collets with the valve compressor tool. For this you need a fine set of tweezers and a screwdriver with a magnetic end, as you will drop the collets and they will drop in sideways etc!!!

Wrong!!

Perfect fit!


Once this lot was in place, bolted down and all torqued up then it was time to play with the cams. Head bolts are 50nm, the little bolt on the side of the engine is 25nm.

Installing the Cams
Mounting the cams is another one of those jobs, it's easy and can be quick, but make sure you get the timing set up correctly before you move on. In the service manual this part is done in two stages, 1. setting the timing, 2. installing the shims and setting the gap correctly. The service manual has a load of checks in it for all of these parts with the specs etc, it's a good idea to look at it.

Check the cams over for any wear and damage, for my bike, there is very little, but some things to look at specifically are chips of marks on the cam faces, damaged teeth, check the spring on the exhaust cam that releases the counter balance weight and the oil feeder on the intake cam. Also check the cam followers and the bars they sit on for wear. Install the intake cam first and work back to front.

Intake cam on left, cam followers at top right.
Once you're happy everything is good, install the cam chain followers into the holes and seal up the external caps, (just check the o ring on these for damage). Pop the intake cam in place, then mount the chain over it and ease the exhaust cam under the chain and into its slots.

Exhaust Cam, (timing out), Intake cam (Timing good)
Once they're in place, mount the bridge, chain tensioner and tighten down. In the pic above is where to find the timing marks on the cams, (KTM has a specific tool for this to make sure it's correct as it affects a lot of things, so if you're unsure get a second opinion!). Once this bit is good, then demount the whole lot and look at installing the shims.

Blurry pic, sorry!
I measured these at least four times to make sure I was happy with it, each time you change something you have to rebuild the lot including using the torque settings for the bridge, but if it's wrong, you'll have to do it again anyway, so take your time and get it right first time. (Tolerances are in the manual but interestingly there is no starting size listed, so it may be worth asking your local KTM dealer if they know these).


Once this is all built, then check the timing again and torque down the bridge for the final time. Pump the piston a few times and check the timing again, then pop the spark plug cover in place and mount the black engine casing with it's three bolts.

Remount the engine and reverse the initial process at the top of this post. When you're all done, say a little mantra, 'it will work, it will work' and hit the starter button. This will either make you smile or cry!!