Friday, 19 December 2014

North Yorkshire Moors day out...

Having a trip down to see family before Christmas, I thought I'd tie it in with a ride over the moors... Another venue I'd been looking at all year, so a quick note onto the Northumbrian TRF FB pages, saw a reply from Joe, (yes the one from 'The Green Lane Relay film') & a meet up arranged with a +1 too... The little old DR was in fine company with Joe's 2013 KTM 350 EXCF & Gavin's 2009 WR250F... both nice bikes...


 We met up just south of Great Ayton on a nice morning, warm with patches of blue sky, (who'd have thought it was December in the UK??). A quick introduction, then some chat about bikes & routes & we were off to Battersby Plantation for a rough ascent up what tuned out to be one of the toughest lanes of the day...

I quickly found out that I should have replaced my back tyre before this trip out, it basically just spun up in the mud & got worse as the day went on!! Ooops...

Deep ruts, mud, rocks, sweating & swearing ensued with a bit of laughing too, mainly at me as the other two had easily cruised up picking better lines & having nice grippy new back tyres!!


Eventually at the top we carried on in a clockwise direction heading over towards Whitby. We included lots of muddy ascents, some with ruts, some for bikes only, some with barely a mark on them, the views were lovely, the Moors the same as they have ever been, wild, almost remote & we appeared to have them to ourselves for the most part.


Rutland Rigg was on the route, which is a great 9 mile long green lane, it's long & can be ridden pretty fast, the ascent & descents have little technical bits on them which were cool & added a bit of spice... for us we never saw anyone on any of the lanes except for two really chatty guys walking their dogs.


For myself, I found out I'm still crap at riding ruts, the rocky up hills were no problems but the back end would spin out at the touch of any wet grass & I usually ended up on my arse somehow!!

Hey ho the fun of riding off road...

I dutifully blamed the knackered tyre & my old bike, trying to salvage some pride but the reality is that this kind of riding is totally different to riding in the Lakes, as was the day out in Northumbria a couple of weeks ago, & that it's always better to keep riding different routes & venues to help yourself & your riding to develop.

Another great day out though, I met some nice folk who were both very capable riders despite both of them being fairly new to motorbikes & have managed to explore some more new lanes & another venue in the UK, always a good thing!! :-)


We finished the day with a properly technical ascent up some rocky steps near Pamperdale, or the boys did, I just took some GoPro footage for posterity, great fun & the boys took different lines but both got up, trials skills necessary here I reckon!!


So now it's back to family visits, before Christmas descends... not a bad life really!! ;-).

(Thanks to Joe for several of the pics for this blog...)

Here are some GoPro vids from the day...

Rutland Rigg Descent
Joe goes Rock Climbing
Rock Step Descent 
Danby Rigg Traverse


Tuesday, 9 December 2014

DR350 - 1998 SEW Oil Change & a fettle

I'm long overdue changing the oil on the DR, so tonight is the night along with some TLC for a few other bits including the brakes & an electrical fault that I've just found.

It's absolutely blowing a hoolie outside, cloud to the floor & sideways rain... nice... so time to fettle bikes some more!!

Oil Change
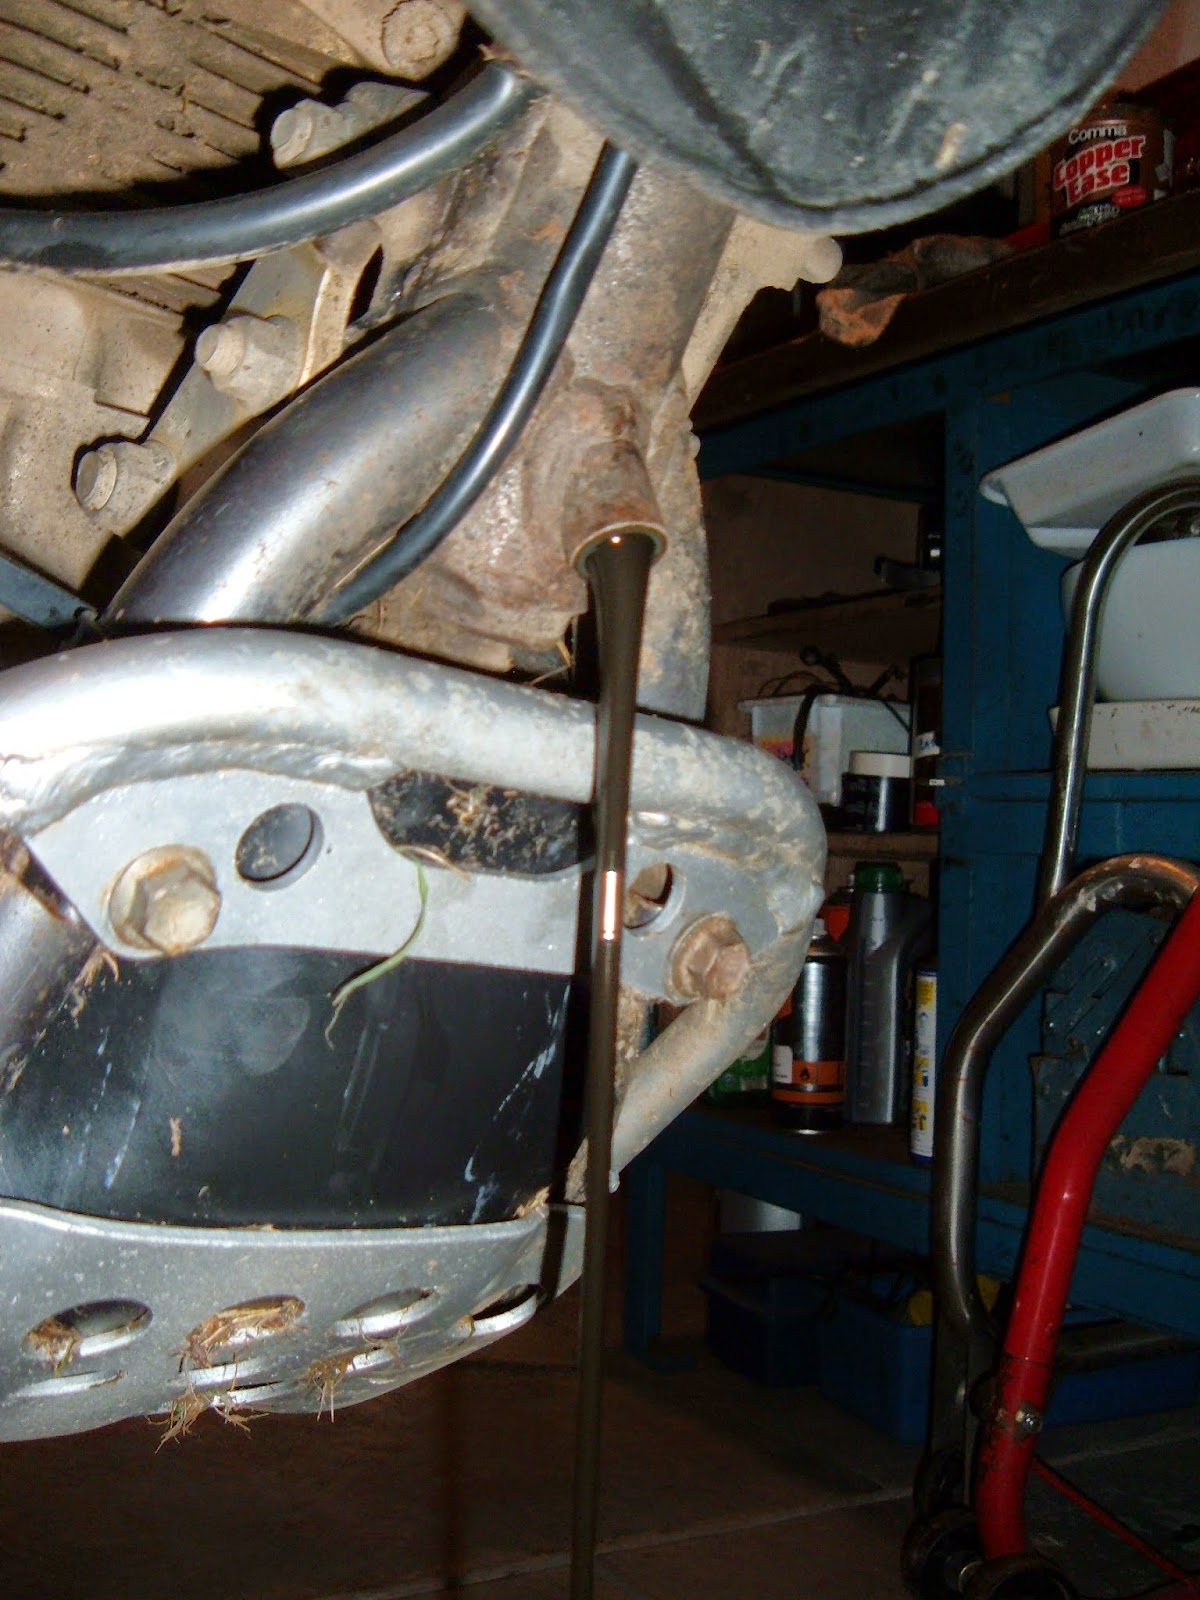
There are three places to drain the oil from on the DR... just behind the sump guard is the main sump drain plug, there is the filter housing on the right side of the engine, (Typical Suzuki practicality, they have even labelled it for you!) & from the upper part of the frame behind the front wheel.

Looking up at the Sump Drain Plug from the floor (17mm socket)

Filter housing - (where the Suzuki name is) - 6mm allen bolt

Paper filter behind the housing

Frame drain plug. (12mm socket)
The oil tends to sit in the frame reservoir when the bike is used regularly & is pumped around the engine & back to the frame via the filter, however if it is left for long periods of time, say several months, it sinks to the lower crankcase.

The engine should be warm before you try to measure the oil level & in the case of a bike that has sat for a long time this makes sense as it will all be in the bottom of the crank!

I tend to start at the bottom & work my way up, making sure it's all cleaned as I go. The filter hole gets two cleans, one with an old oily rag, then a proper clean with some clean rag & even a check around for bits etc. The filter casing has a spring behind it to help to keep the filter seated correctly & also a large O ring where is sits against the main engine casing. I clean all of these & grease the O ring very lightly to help to make a seal. I think for the next time I'll change the O ring as it looks OK now but it's done a lot of work since I've had the bike.

I also add a tiny bit of copper slip to all of the bolts as I replace them to make sure they do not corrode into place with all the mud & water crossings that are coming up over the winter.

The oil that has come out is disgusting & I feel a bit guilty about leaving it so long, poor ole beastie, no wonder she was struggling to get into neutral lately!!

When you change the filter as well as the oil, the manual says put in 1.9 litres of 10/40 semi synthetic, if it was just a basic oil change it would be 1.7 litres, but if it was an engine strip down, interestingly it would 2.1 litres... Just goes to show how much is left in the casings for a normal oil change!

I prefer the 10/40 semi synthetic to the fully synthetic for this age of bike as it seems to run smoother & change gear easier.

Only manual you can get for a 350!!
 The filter I'm using is a K&N 136 paper version...


Once it's all drained out, (I leave it for about 30 minutes when I've got time to get the last drips out), it's clean & replace all the bits, I do this backwards so start at the top & work down, personal choice as I'm not sure it actually makes any difference, just my OCD kicking in!!

The replacement oil is all poured in just below the headstock, there isn't an engine fill point on this bike. I measure it out & get it all poured in slowly, then I run the engine for 10 minutes to get it warm & circulate the oil around. I then check the fill level with the bike off the stand & held level. You do not need to screw in the oil fill cap, just rest it in to the thread, (be careful to make sure it is in the inner tube section though).

Oil filler point - Just under the handlebars


I was intrigued by some threads I'd read online about the oil temperatures as the bike is in use so I bought a cheap one of Ebay, it kind of worked to a point, but then the temperature always seemed to read past the maximum, so I've taken it back off the bike. Whether this was because the metal probe was too short or because it was just £3.50 I don't know, but you could see the bike warming up evenly each time it was started.


That's that job done then for now... easy as!! ;-)

Electrical Fault Fixing...
A not so easy fix was finding the bike wouldn't start, I traced it through the wiring to find that the main Live lead from the battery to the 20 amp fuse has broken, a mix of corrosion & all the movement it gets as you ride off road I suspect.

One of the faults of the design of these DR's is the bike wiring loom & battery are in a very exposed place so they get all of the water, mud & general shite all over them. The main CDI unit is under the seat & protected by a rubber cover, the rectifier is high up & gets air to it to keep it cool, but the indicator connections, the 20 amp fuse, the solenoid etc are all really exposed...

This definitely leads to problems as I've found the battery has been drained by wet mud shorting out the terminals & now parts of the wiring is breaking up. I've patched it up for now & will try to find a better waterproof setup to make this more secure for the future.

I've also wrapped the battery in a small plastic bag to reduce the amount of mud that gets onto the terminals which seems to have helped no end, but I need to replace the bag every now & then too as it get blasted to shreds by the jet wash. ;-)

Old bikes always have their oddities & this is the DR's for sure!! It's funny the 2007 KTM has resolved this issue & the wiring is really well sorted & protected compared to the DR, but they botched up the air box design pretty badly instead!!

I'll get some pics when I can...

Front Brake Pads
I stripped the caliper out, (which takes about 5 minutes), it's two 13mm bolts holding the caliper to the frame, then a 6mm allen key removes the pins that hold the pads in place around the disc.

The pads are very close to being dead, but the replacement pads I've received are not the correct ones so I've asked Goldfren to send me the correct ones.


In the Goldfren range the correct ones seem to be AD002, I prefer the red packaged ones as they work both on the road as well as off road. I'm interested to look at their rotors as the ones on the DR are a bit rusty around the edges & no matter how much I clean them, grease the back of the pads & generally clean the caliper pistons, the brakes squeal like a stuck pig whenever they are wet, it sounds shite & although it doesn't seem to affect the actual braking I'm not sure if the disc is damaged due to age etc... another thing for the wish list, along with some lighter rims & a fancy rear shock!!

So clean the lot, regrease the back of the pads with copper slip, clean & grease the bolts & remount them until I can get the replacements sorted out!!

Job done, time for tea!!

A link I've just found is this: Part No's


Thursday, 4 December 2014

KTM 250 EXC-F 2007 - Servicing - Oil Change, Chain/Sprockets, Air FIlter & Coolant

So I've just done a load of servicing on both of our bikes & thought I'd pop some of the info down on here for a reference...

Oil change for the KTM 250 EXC-F 2007... 

There are 3 oil filters, 2 mesh ones & 1 paper paper one.

The paper one, (HiFlo HF655), is on the left side above the footpeg, there is a mesh one below the gear lever, hidden behind a bolt. The other mesh one is underneath, behind the sump guard & uses an 8mm allen key. The sump drain plug is at the rear of the engine block, facing the back wheel & is a 13mm socket.
 
Paper filter just below carb, Mesh filter is behind bolt at the back of the gear lever

Oil Filler & Window
Paper filter home
The oil needs to be changed regularly, (KTM say every 15 hours), The paper filter I change about every 30 - 45 hours as it doesn't have such a hard life that it would have if it was a race bike. The mesh ones get taken out & rinsed through with clean oil & any debris cleaned off as advised by our KTM dealer.

I do change the O rings though as they perish fairly quickly along with the copper sump plug washer.

Bottom mesh oil filter
 
Sump drain plug
This bike takes 900ml of oil at a straight oil change &1.1L with a paper filter change. I make sure to measure it accurately as the gear change becomes stiff when it's not the right level. I use fully synthetic at 10/60 weight. I also make sure the oil is warm before I try to drain it.

Wipe everything out before you replace anything then check the torque settings for all the bolts as you replace them.

Look them up in the KTM Online Manuals

Chain & Sprockets for the KTM

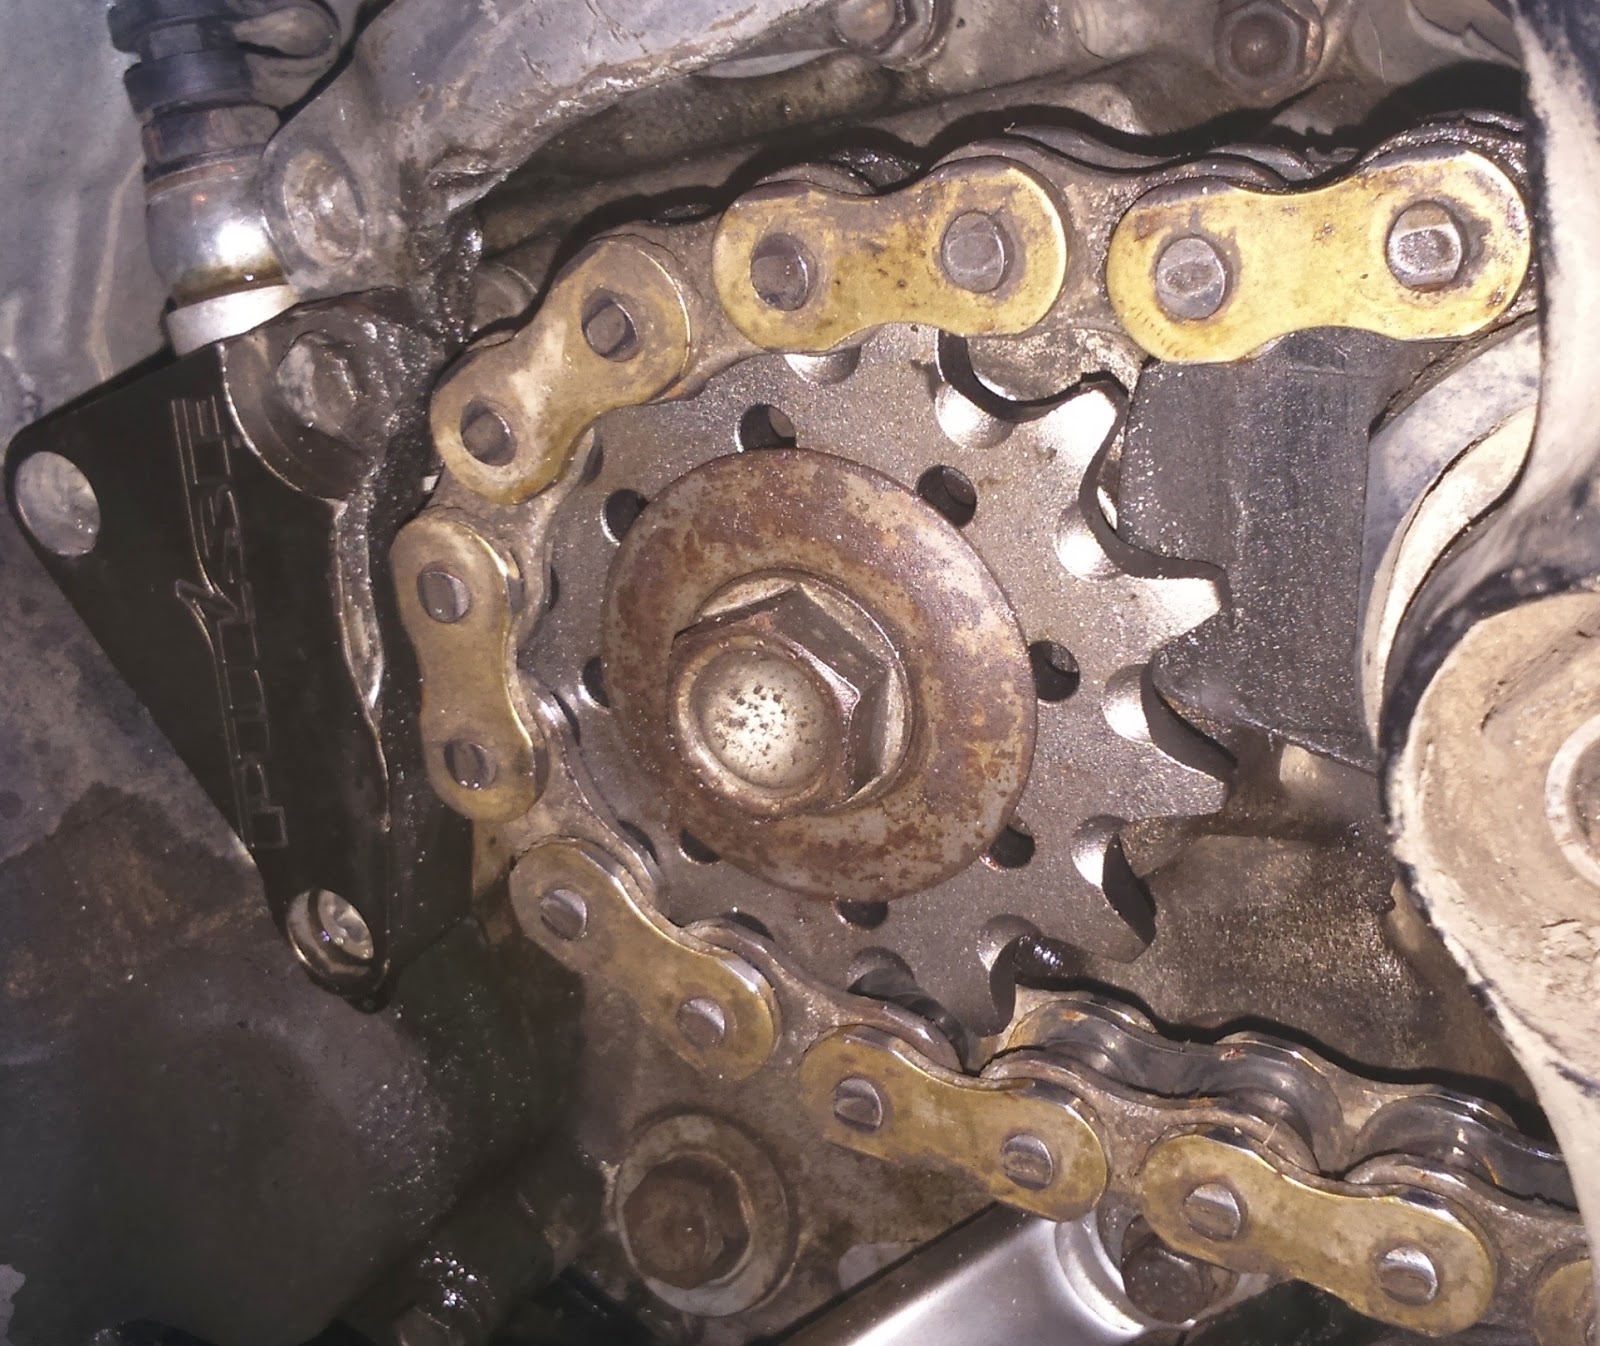
We also changed the chain & sprockets this time too... Lucy opted for the the KTM Powerparts version, with the standard sprockets of 52/13. The rear one has steel teeth & an alloy body, so best of both worlds weight vs wear... the front is a standard steel one & the chain is a Regina gold O ring version. We had to take out 1 link from the change to get it to fit but otherwise it was a doddle to fit. especially with the split link option.

The knackered old chain & sprockets

A muddy looking KTM!!

I cooked the dinner!! ;-)

Lucy cleaning the back wheel

Bit of grease for pudding!

Shiny new chain & sprockets

Update: 10/04/2015 - We just had a bit of a lucky escape with the chain on this... the split link wore through & popped off. Lucy  managed to stop in time before any damage was done to her leg, which is the good part. Upon further investigation, the chain had banged into the clutch slave cylinder, which was protected by an aftermarket chuck on aluminium, this & the chain guide are pretty heavily scarred up now. The chain has wear all along it's top face of each link, the link, being slightly softer metal wore through. I think this maybe due to the tension in the chain & the fact that the front sprocket is very heavily worn, so it's allowed the chain to bounce around. This & the rear wheel bearing have gone at the same time has produced some interesting & dangerous results.

3 months old!!

Wear on the top of chain & the slave cylinder damage

Answer at the moment: change the front sprocket asap, (Tick), check all around the chain run for any dragging , (Tick) now monitor it all!!

Air Filter

So after a few hours, several river swims & plenty of mud, it's time to change the air filter. The design of the air box on this bike is one of it's really more stupid things. It sucks in water like a sponge, straight into the engine & you have to stop to drain & clean it out. Again we used the recommended air filter from Triple D, no worries to change, it is pre-oiled & takes about 5 minutes, which is a good thing!

Pop off the panel, unhook the wire, pull out the old one & reverse the process.

The new one...
The old one...
Looking at the air filter from under the seat

Coolant Change
 Lucy's bike blew a load of steam out of it on our last ride, so we headed down to Keswick to top up the water & a refuel to get us home. Because of this I decided it was time to give the radiator a flush & replace the coolant plus check all the hoses.

There seems to be a small amount of wetness around the junction of the Y piece that comes out of the top of the radiators, otherwise I can see no other leaky bits, so I'll need to replace that sometime soon. Triple D says around £20 for the replacement KTM part or I've looked at the Samco racing hoses which have not got the Y connector in them but are a complete tube, these are around £70 +, so it might have to go on a wish list just now!!

Standard KTM hoses

Samco racing hoses

For the coolant, the manual states a 50/50 mix of coolant & distilled water, then fill it up to 10mm below the overflow cap, that's pretty difficult to judge, so I made up a litre of mix & slowly poured it in, then soaked up the extra with a rag. Using the tap water at the garage can damage the alloy in the radiators so I also did a bit of a flush with the coolant on a 70/30 mix, ran the engine until it was hot & drained the fluid back out to refresh it with the correct mix levels.

The drain point for the 2007 model is the lowest bolt on the bottom of the water pump, it's a 6mm bolt so go easy on the re tightening of it!!


A radiator fan & a temperature sensor would be a good purchase for this bike, as it's not used for racing & it gets to idle at gates etc, it would keep a lot cooler if a fan kicked in every now & then. Simon's 400 has one he fitted to it, the temp sensors are notoriously faulty apparently, so he wired his into his indicator switch, so every now & then when you ride behind him, he suddenly starts indicating & in reality his bike is just getting too hot!!

Trailtech seem to make one for £160 ish with a built in temp guage, there is a KTM one which I don't know the price of as yet, so again another wish list bit of kit for this bike.

Trailtech Radiator Fan

So a couple more jobs ticked off for now, replace the tyres next as they are looking a bit worn now. Lucy wants a job in a bike garage next if anybody is looking for mechanic chick!! (Especially if the lead mechanic looks a bit like Ben at Triple D... ;-)


Monday, 1 December 2014

A Dales Visit - Sunday

The Dales... mmm I've been wanting to get over here for ages now, so finally it all came together... Gaz, Lucy & I all headed to Settle to have a look at the loop I'd put together for Geoff & I last week... This trip was more successful & although we never got it all done & the planned loop has a big bit of tarmac in it to link up a couple of the longer lane sections, (so it's still a work in progress), the riding was ace, wide open moorland, mud, steep ascents/descents, great views, it's got the lot... ace!!


We parked up near Settle, then took the first lane up onto the moorland, having to get used to the slippy limestone very quickly... the route traced its way alongside Pen Y Ghent, so it's a popular route for all, we passed several walkers on the trail, all very pleasant people it's nice to both see & say...

Once back to tarmac I'd seen a lane on the side of a hillside but hadn't found any info about it, so when we saw a farmer feeding his sheep next to it, we asked him about it, he assured us it was OK to ride, but there were loads of gates, so off we set... it turned out to be a good lane dropping into Litton on a limestone pavement & cobble base.


From here we had a fair bit of road, passing under Kilnsey Crag, (An iconic climbing crag for those of us who like to hang around a bit...), eventually getting to Pateley Bridge, by which time a quick fuel top up & some food saw us looking at the clock as we'd made a gentler start to the day compared to yesterday.

From lunch in a garage we headed up onto the moors to take in the Six Days Trail, which was ace, long, easy & some great views. We saw our first other 'laners' today too, a couple of WR250's, another DR & something I didn't recognise at all!


We dropped back to tarmac roads again upto Middlesmoor, before another moorland climb & steep descent saw us at Scar House Reservoir. Lucy rode the descent really well, all that training with Neil at Triple D paying off today, her whole riding for the weekend looking more confident & in control, it was great to see...

From here we climbed back up & over the moor, having some troubles in the deep mud on the ascent, this is a route that is heavily eroded on the steep bit, not sure what the best route forward is with this, but it's clear that there is ammunition for the anti off road groups here with this part of the trail unfortunately. Although all the other routes we did today & either end of this one is magic & on a rock bed, so maybe it just needs a little re-routing to take out the damaged section & remove the chances of it happening again?

I did the steep muddy bit, Lucy & Gaz took a more sensible line to the left. But not before Lucy & I had a face full of mud!!


We'd passed a long wheel base landy on this trail, they'd just come down it & we also had a lovely chat with a family who were really wanting to know everywhere we'd been that day... their enthusiasm was very infectious!!


Time was moving on so from here we headed up the valley road back to Kettlewell, what a great road with some stunning views & great sunset light... At Kettlewell we decided to cut short the rest of the loop as the light was dropping fast, so a return to Litton & up the lanes from this morning, mostly in the dark, which always makes things more interesting took us back to the vehicles & the drive back home.

Two great days of riding, some brilliant new trails to return back to & of course we've found more to look at now too!!

This green laning lark is fab!! I definitely want a better, lighter bike though now...

YouTube links: Dales Green Laning:
Moon Head Lane at night
Scar House Reservoir Ascent - lots of mud!!
Middlesmore Lane

Oh & for her birthday, Lucy got a shiny KTM jacket... it looked very nice on the wall at her house... all orange, white & black, very clean!!

Clean & shiny...
Much better now though!!